Introduction
Reuniting with family is one of life’s greatest joys. If your parents live abroad and you’re in the US (or plan for them to visit), being able to host them, share your life, show them around, and create memories together is worth the effort. But the process of bringing your parents to the US for a visit involves navigating visa rules, documentation, interviews, and deadlines. With good planning, clear documentation, and patience, you can increase your chances of a successful application. This guide walks you through each step, from understanding which visa to apply for, what documents you’ll need, how to prepare for the visa interview, and what happens when your parents arrive.
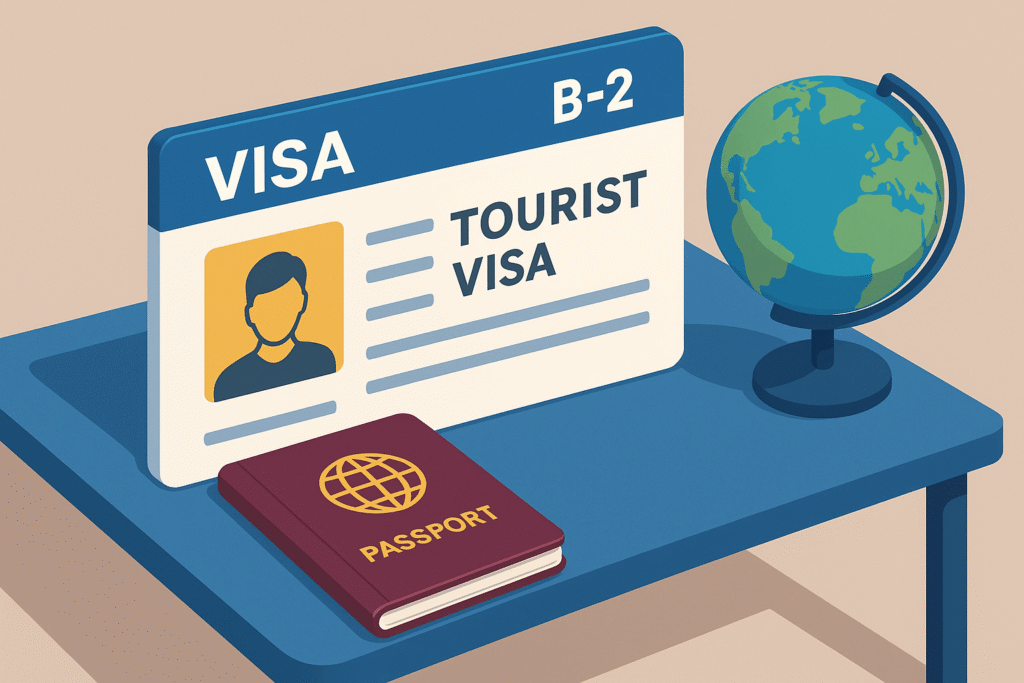
Understanding the B‑2 Tourist Visa
If your parents want to come to the US temporarily—for tourism, visiting family, or medical purposes—the appropriate visa is usually the B‑2 visitor (tourist) visa. The B‑2 visa is a nonimmigrant visa; it is not intended for permanent stay or employment.
Key facts about the B‑2 visa:
- It’s for temporary stays—for example, visiting family, holidays, medical treatment.
- The visa allows entry to the US, but the exact length of stay is determined at the port of entry (via CBP/Customs). Usually up to six months.
- Overstaying the allowed time, working without authorization, or otherwise violating visa conditions can lead to future visa denials or being barred from entry.
Understanding these basics helps you approach the rest of the process with clarity. is complete and accurate to the best of my knowledge and ability.”
Eligibility Criteria for the B‑2 Visa
Before starting the visa application, your parents must satisfy certain eligibility criteria. The consulate or embassy will evaluate these when reviewing the application:
- Strong ties to home country: This means proof that they intend to return home: property, family, job, ongoing commitments.
- Sufficient funds: Either they themselves or you (as sponsor) must show ability to cover the cost of travel, stay, and return. Bank statements, savings, etc.
- Valid passport: Usually valid for at least six months beyond the period of stay requested.
- No intent to immigrate permanently: The purpose of the visit must be temporary. Honesty in the DS‑160 application and interview is essential.
- If these are clearly shown, the chances of approval are much higher.

Documents Needed to Invite Your Parents
To help your parents’ visa application go smoothly, you’ll want to collect and prepare both your documentation (as the invitee/sponsor) and theirs. Some documents are mandatory; others strengthen the case.
Documents your parents should prepare:
- Valid passport(s) with plenty of blank pages and sufficient validity.
- Completed DS‑160 form (one per parent) with confirmation page.
- Photograph meeting U.S. visa photo requirements.
- Proof of ties to home country: property deeds, employment letters, financial/account statements, family ties.
- Travel itinerary if already planned: flight bookings, accommodation details (even if tentative).
Documents you (the sponsor/invitee) may need:
- Copy of your own identity documents: passport, visa status, proof of legal status in the U.S. (if not a citizen).
- Evidence of employment or income: employment letter, pay stubs, tax returns.
- Bank statements or proof of financial ability to support their stay if you are sponsoring.
- Invitation letter: your address, how long parents will stay, purpose of visit, whether you will pay or assist in expenses.
- Affidavit of Support (maybe Form I‑134), if required or helpful. Though not always mandatory, it strengthens the application.
How to Fill Out the DS‑160 Form
This is one of the most critical pieces. The DS‑160 is the online nonimmigrant visa application form. Each parent must have their own DS‑160.
Tips for filling it out:
- Use accurate, up‑to‑date biographical information (names, dates, passport numbers). Any inconsistencies with other documents harm credibility.
- Be careful with questions about purpose of travel, ties to home country, finances. Be honest.
- Upload the required photo if the system allows; otherwise, prepare a physical photo that meets specifications.
- Save frequently; complete all required fields. Especially those about past travel, employment history, etc.
- After submitting, print the confirmation / barcode page – this is essential for the visa interview.
Paying the Visa Fee & Scheduling Interview
After DS‑160 is submitted, these steps follow:
- Pay the visa application fee: The non-refundable fee for a B‑2 visa. It varies by country’s processes for payment.
- Schedule the interview: At the U.S. embassy or consulate in your parents’ home country. They’ll need DS‑160 confirmation, visa fee receipt, and passport to book a slot.
- Check wait times: Interview slots may be backlogged depending on country and season. Plan accordingly.
Preparing for the Visa Interview
The interview is often decisive. Here’s how to help your parents prepare:
- Practice common interview questions, such as:
• What is the purpose of your visit?
• How long will you stay?
• Who is sponsoring your trip?
• What ties do you have that ensure you will return home? - Organize the documents clearly. Have originals and copies, neatly arranged.
- Be truthful and consistent. Consular officers compare with DS‑160 and other provided documents. Any discrepancies can lead to delays or denial.
- Dress appropriately and be punctual. First impressions matter.
- Bring supporting documents: bank statements, property deeds, employment letters. If you’re sponsoring, bring your financial documents.
Common Mistakes to Avoid
Avoiding pitfalls increases chances of success. Common mistakes include:
- Submitting conflicting information (e.g. dates, names) between DS‑160, invitation, or sponsor documents.
- Large, sudden deposits in bank accounts just before the interview — these can raise suspicion.
- Weak proof of ties to home country. If the consulate is not convinced your parents will return home, visa may be denied.
- Waiting until the last minute to apply; interview slots, processing, passport return may take time.
- Overemphasis on plans inside the US without showing plan for return.
Proving Strong Ties to Home Country
This is often the factor consular officers look at most closely. Good proof includes:
- Home ownership or real estate
- Continuous employment or business ownership
- Family obligations (e.g. grandchildren, dependents, responsibilities)
- Financial assets such as savings, investments
- Ongoing community or social engagements
Having multiple types of ties rather than just one tends to help.
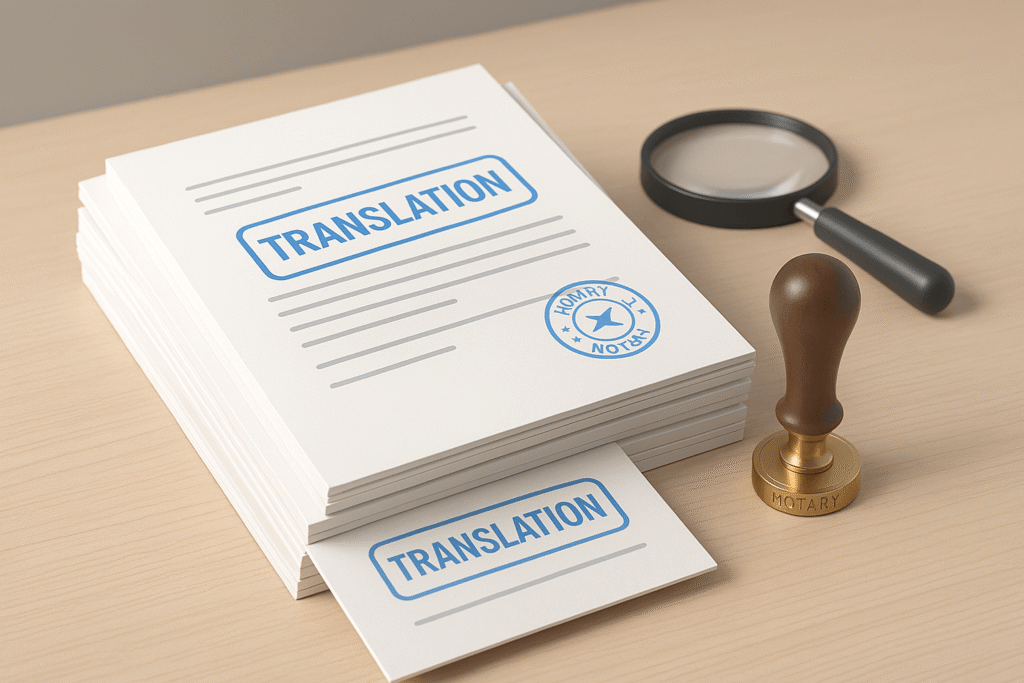
Translation and Notarization Requirements
When preparing documents for your parents’ B-2 visa application, it’s critical to ensure that all documents submitted to the U.S. embassy or consulate are in English. If any supporting documents—such as property records, bank letters, employment letters, or identification—are in a language other than English, they must be translated accurately and, in some cases, notarized for verification.
When to Translate Documents
You must provide certified English translations if any supporting documents are in your parents’ native language. This typically applies to:
- Property deeds or ownership documents
- Bank statements or financial documents in non-English formats
- Birth or marriage certificates (for family relationship proof)
- Employment verification letters
- Government-issued IDs (if not in English)
All translated documents should include a statement signed by the translator certifying that the translation is complete and accurate, and that they are competent to translate from the original language to English. For applicants unsure where to get certified translations that meet USCIS requirements, you can use services such as USCIS Official Translation
Here’s a sample translator’s certification you can include:
“I, [Translator’s Full Name], certify that I am fluent in both English and [Foreign Language], and that the above/attached document is a true and accurate translation of the original document.”
When to Notarize Documents
Notarization is not always required, but it can help establish authenticity, especially for documents such as:
- Affidavits or self-declared financial support letters
- Property ownership affidavits
- Declaration letters for dependents or family ties
A notary public in the home country can notarize the documents. If translations are done, they can also be notarized to add a layer of formality, though it’s not mandated by the U.S. consulates in most cases.
Where to Get Translations and Notarization Done
- Professional translation services: Use licensed or accredited agencies, especially those familiar with immigration paperwork.
- University translation departments: In many countries, English language departments offer certified translation services.
- Local notary offices or lawyers: For notarization, your parents can visit government-authorized notary offices or legal professionals who offer document authentication.
Pro Tip:
Always include both the original-language document and its English translation in the application package. Never submit a translation without attaching the source document.
Affidavit of Support and Financial Sponsorship
If you are going to help with expenses, it strengthens the application if you show:
- Your proof of income (pay stubs, employment verification)
- Bank statements showing you have sufficient funds
- If applicable, Form I‑134 Affidavit of Support, which is a sworn statement that you will support them financially while they are in the U.S.
Even if you do not sponsor fully, any help you provide (e.g. accommodation) should be clearly stated in your invitation letter.
Invitation Letter: What to Include
An invitation letter isn’t always required, but it helps. It should:
- Be addressed to the consular officer
- Include your full name, address, legal status in the U.S.
- Include your parents’ names, relationship to you, purpose of visit, duration, dates if known
- Declare who will pay for travel, lodging, and other expenses
- Indicate where they will stay in the U.S. during their visit
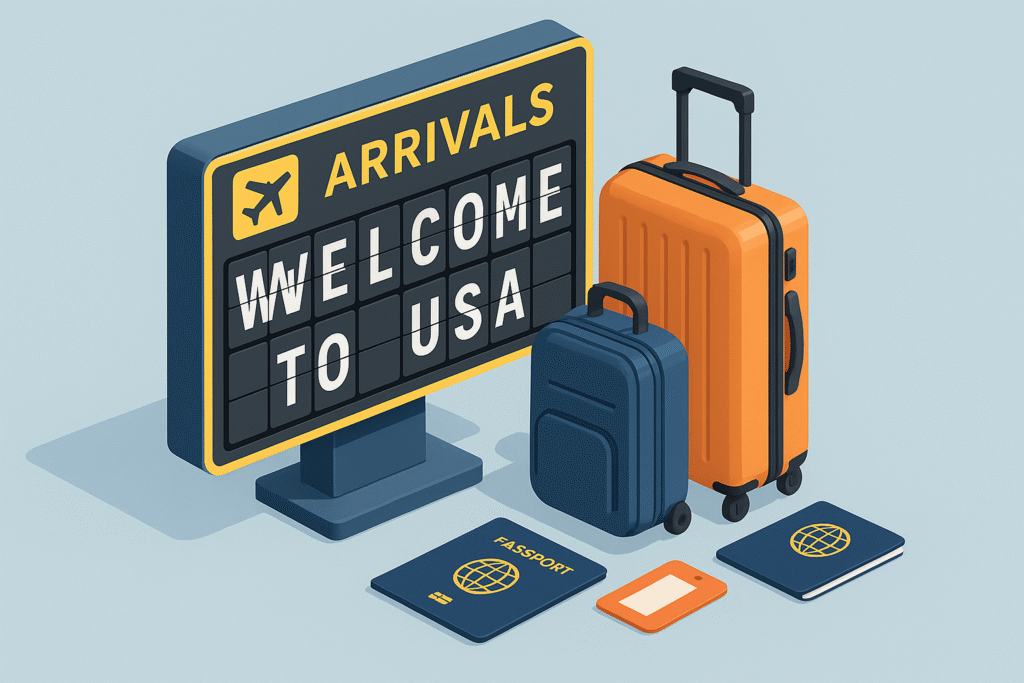
Airport Arrival & Staying in the US
Once visa is approved and travel is arranged:
- On arrival, immigration/customs (CBP) will inspect documents. They may ask similar questions: how long to stay, where staying, purpose. Ensure parents carry copies of all relevant documents.
- Parents will get a Form I‑94 (arrival/departure record) — this shows how long they are allowed to stay. They must leave before this date, unless they file for an extension.
- Even inside the US, follow all rules: no employment, no overstaying, no misrepresentation.
Extensions, Overstay & What Not to Do
If for some reason your parents need to stay longer:
- They may apply to extend their stay before their I‑94 expires, through USCIS. But it’s not guaranteed. Strong justification is needed.
- Overstaying without approved extension can lead to serious consequences: future visa denials, bars, difficulty reentering.
What If The Visa Is Denied?
Visa denial is unsettling but doesn’t always mean “never”. Common reasons include weak ties, missing documentation, inconsistencies. If denied:
- Ask for the reason (sometimes the consulate provides guidance).
- Fix the missing pieces: strengthen ties, gather needed documents, clarify purpose.
- Reapply when situation is improved.
Timing & Planning
Because the process can take weeks to months (interview appointment availability, document gathering, processing), plan early:
- Begin at least 2‑3 months in advance of intended visit date.
- Consider peak travel times: holidays, summer. Embassies often have backlogs then.
- Make travel and accommodation reservations tentatively or in a way that can be canceled if needed.
Sample Timeline
| Time Before Trip | Tasks |
| 12‑10 weeks | Start gathering documents; ensure passports valid; begin saving funds; you (sponsor) get employment and financial docs ready |
| 8‑6 weeks | Fill DS‑160; have sponsor write invitation; schedule visa interview; pay fees |
| 6‑4 weeks | Prepare for interview: practice answers, organize documents, print photograph, confirmation pages; purchase travel insurance if desired |
| 4‑2 weeks | Check visa status; once approved, book flights; prepare for arrival (airport, customs, contact info, gathering all documents) |
| During Visit | Follow all US rules; keep track of stay period (I‑94); avoid overstay |
| Before End of Stay | If extension needed, apply in time; otherwise arrange return travel |
FAQs about Certified Translation for USCIS
How long does the B‑2 visa process usually take?
It depends on country, demand, and how well-prepared the application is. The DS‑160 and payment are quick; the interview wait time may be several weeks. After approval, visa stamping may take additional time.
Can I sponsor my parents for a visitor visa if I’m on a nonimmigrant visa (e.g. H‑1B, F‑1)?
Yes. Being on H‑1B, F‑1, or having a green card generally allows you to invite parents for a visit. You’ll need to show your legal status and ability to support them (if sponsoring).
If one parent is denied, can the other still go?
Yes, since each parent is evaluated individually. If one is denied, the other may still be approved if their application is stronger.
Do I have to buy travel insurance for their visit?
Not legally required by U.S. immigration, but strongly recommended. Medical costs in the U.S. are high; insurance helps avoid unexpected financial burden.
Can parents work, study, or stay permanently on a B‑2 visa?
No. B‑2 visas do not authorize work. Short recreational courses may be allowed, but not for full academic credit. Permanent stay or immigration would require a different visa.
What changes were made recently that might affect the process?
One example: interview waiver rules have become stricter in many places. Applicants must often attend interviews in person. Also, visa appointment wait times may be long in some countries.
Conclusion
Bringing your parents to visit you in the United States is a significant gesture, one that often means a lot emotionally and personally. While the path involves bureaucratic steps, forms, interviews, and preparation, it’s far from impossible. By understanding the B‑2 visa, gathering all required documents, preparing carefully for the interview, and showing clear ties to their home country, you greatly improve the chances of success.
Start early. Double‑check every document. Be consistent in your story. And above all, keep the purpose of the trip in mind: a temporary visit to share life, reconnect, and make memories. When everything aligns, the reward of welcoming your parents will make the effort worthwhile.