
If you’ve been asked for a Spanish translation of your birth certificate, the most important thing to know is this: “Spanish translation” can mean different things depending on who’s requesting it.
Some offices simply want a professional translation with a signed certificate of accuracy. Others (especially certain civil registry and visa processes) require a sworn Spanish translation produced by an officially authorised translator.
This guide shows you how to get it done properly—so it’s accepted the first time.
First, confirm what “accepted” means for your case
Before you pay for a translation, take 2 minutes to confirm where the translated certificate will be used:
- Submitting to U.S. Citizenship and Immigration Services? USCIS generally requires English translations for documents not in English—so a Spanish translation may not be what you need.
- Submitting to a Spanish-speaking authority (consulate, civil registry, university, employer)? You may need:
- a certified translation (common), or
- a sworn translation (often required for official registry/visa processes in Spain and some other jurisdictions), or
- translation plus apostille/legalisation.
Best practice: ask the receiving office one clear question:
“Do you require a certified translation, a sworn translation, or notarised/apostilled documents as well?”
If you have a checklist, email, or portal screenshot with requirements, keep it—your translator can follow it precisely.
What you need to prepare (so your translator doesn’t guess)
To avoid delays, gather these upfront:
- The correct version of the birth certificate
- Use the version the receiving office expects (long form vs short form, certified copy vs extract).
- A clear scan or photo
- Full page visible (all corners), no blur, no glare, no shadows.
- Include the back page if there are stamps, notes, barcodes, or registration details.
- Your exact name spelling
- Provide the spelling you want used in Spanish (matching passport/ID), including:
- middle names
- hyphens
- accents (if applicable)
- Provide the spelling you want used in Spanish (matching passport/ID), including:
Certified vs sworn vs notarised vs apostilled (simple comparison)
Certified translation (most common)
- A professional Spanish translation plus a signed statement confirming accuracy and translator competence.
Sworn translation (when specifically required)
- Completed by an officially authorised translator, typically with an official stamp/seal and formal declaration.
Notarised translation (sometimes requested)
- A notary verifies the identity of the person signing the certificate (it’s about the signature, not the translation quality).
Apostille/legalisation (about document authenticity)
- Confirms the document is a genuine public document for cross-border use. Sometimes the apostille page must also be translated if attached.
If your instructions mention “sworn” or “traductor jurado”, do not order a standard certified translation—order a sworn translation.
Step-by-step: how to get a birth certificate translated into Spanish
1) Choose a provider experienced with official documents
This isn’t the time for “quick bilingual help” or copy-and-paste tools. Birth certificates are high-stakes identity documents, and small errors can cause rejection.
Look for a provider that:
- translates every visible element (including stamps, seals, marginal notes)
- preserves structure (tables, fields, headings)
- provides the correct certification type (certified or sworn)
- has a secure upload process and clear turnaround options
If you want this handled end-to-end, you can upload your birth certificate and request a Spanish translation prepared for official use—certified or sworn depending on your requirement.
2) Tell them the destination country/authority (this changes everything)
When you order, specify:
- the country and office receiving it (consulate, registry, university, employer)
- whether the office mentioned sworn/certified/notarised/apostilled
- whether you need digital-only or hard copies
A good provider will flag mismatches (for example, when a sworn translation is required but the client ordered a standard certified translation).
3) Ensure the translation includes every stamp, seal, and note
A common rejection reason is partial translation.
Your Spanish translation should include:
- all printed text
- handwritten entries
- stamps, seals, registration codes
- marginal notes (e.g., amendments, corrections, late registration notes)
If something is illegible, the translator should note it clearly (e.g., “Illegible stamp” or “Signature (illegible)”).
4) Confirm proper formatting (so it reads like an official record)
For acceptance, the translation should be:
- clearly typed and easy to review
- structured with headings/fields mirroring the original
- consistent in names and dates
- consistent in translating recurring terms (same term = same Spanish equivalent)
You’re not aiming for “nice Spanish”. You’re aiming for accurate, official Spanish that matches the original record.
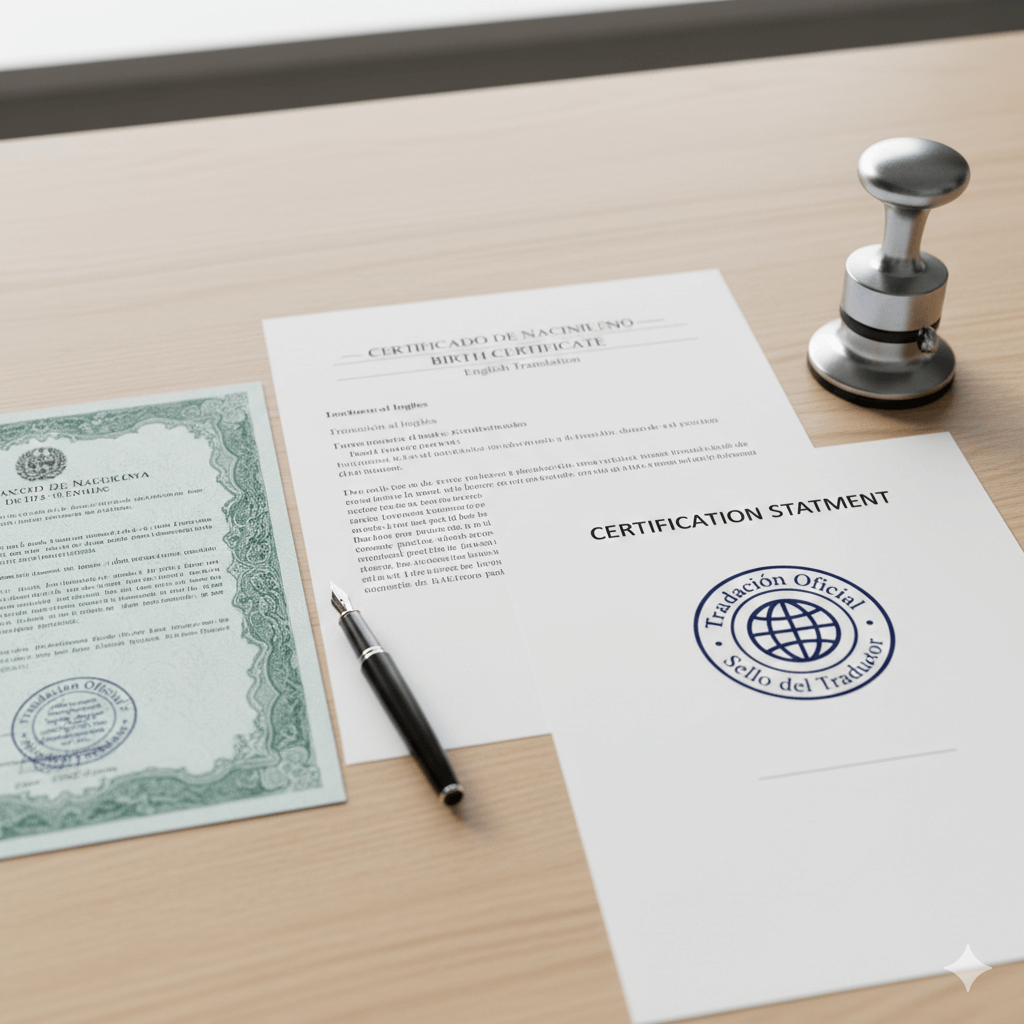
5) Get the right certification statement (copy-paste templates)
Option A: Standard certified translation statement (common)
Use this when the authority accepts a certified translation with a translator’s certificate:
Translator’s Certification
I, [Full Name], certify that I am competent to translate from English to Spanish and that the foregoing is a complete and accurate translation of the attached document.Signature: ____________________
Date: ________________________
Contact details: ______________________
Option B: Spanish-language certification (sometimes helpful for Spanish-speaking offices)
Certificación del traductor
Yo, [Nombre completo], certifico que soy competente para traducir del inglés al español y que la presente traducción es completa y fiel al documento adjunto.Firma: _______________________
Fecha: _______________________
Datos de contacto: ______________________
Option C: Sworn translation (when required)
If sworn is required, the sworn translator will provide the correct official declaration and stamping format for that jurisdiction—don’t try to DIY this.
6) If you need an apostille, do it in the right order
A practical sequence that avoids rework is often:
- Obtain the official birth certificate copy
- Obtain apostille/legalisation if required
- Translate the birth certificate and any attached apostille page/stamps if the receiving office expects it in Spanish
If you translate first and then attach an apostille later, you may end up needing an additional translated page.
7) Review these “high-risk” details before you submit
Do a quick final check (2 minutes) before sending it to the receiving office:
- Names match your ID exactly (including spacing and hyphens)
- Dates are correct and consistently formatted (day/month confusion is common)
- Places of birth are correctly rendered (not “translated into a different place”)
- Parent names are consistent across all documents in your application pack
- Stamps/seals/notes are included (not omitted)
If anything is wrong, request a correction immediately—official submissions are not the place for “close enough”.
Common birth certificate terms in Spanish (quick reference)
- Birth certificate: certificado de nacimiento / acta de nacimiento
- Date of birth: fecha de nacimiento
- Place of birth: lugar de nacimiento
- Name: nombre
- Surname / last name: apellido
- Father / mother: padre / madre
- Registrar: registrador/a
- Registration number: número de registro
- Issued on: expedido el / emitido el
- Seal / stamp: sello
- Signature: firma
(Exact wording varies by country and document style; consistency is more important than picking a “fancy” synonym.)

A simple “acceptance checklist” you can screenshot
- Correct certification type (certified vs sworn)
- Full translation (including stamps, notes, codes)
- Certification statement included and signed
- Clear formatting that mirrors the original
- Apostille/legalisation handled in the correct order (if required)
- Names/dates match passport/ID exactly
If you want a zero-hassle route, upload your certificate, tell us the destination authority, and we’ll deliver a Spanish translation with the correct certification and formatting for official use.
FAQs
Can I translate my own birth certificate into Spanish?
You can, but it’s often rejected for official use because it lacks independent certification, consistent formatting, and a credible accuracy statement. For official submissions, use a professional certified or sworn translator.
Do I need a sworn Spanish translation or just a certified one?
If the receiving authority explicitly says sworn, traductor jurado, or official sworn translation, you need a sworn translator. If they only say “certified translation”, a certified translation with a signed certificate is usually sufficient.
Do I need notarisation for a Spanish translation?
Not usually—unless the receiving office specifically requests notarisation. Notarisation confirms the signer’s identity; it does not “validate” translation accuracy.
Should the apostille be translated into Spanish too?
Sometimes. If the apostille is attached to the certificate and the receiving authority wants the full package in Spanish, translate the apostille page as well.
How fast can I get a Spanish birth certificate translation?
Turnaround depends on page count, certification type (certified vs sworn), and whether hard copies are needed. If you have a deadline, provide it when you order so the provider can match the correct service level.
Will my Spanish translation expire?
Translations typically don’t expire, but some authorities require recently issued birth certificates (e.g., issued within the last 3–6 months). Always check the document “freshness” requirement with the receiving office.
