Applying for a US student visa is a pivotal step in launching your educational journey in the United States. It can be thrilling and nerve-wracking all at once. If you’re dreaming of studying in the US, the visa process might seem daunting—but with the right documents and guidance, you can sail through it. Let’s explore everything you need to know to apply for a US student visa successfully, especially the documents that can make or break your chances.
Understanding the US Student Visa
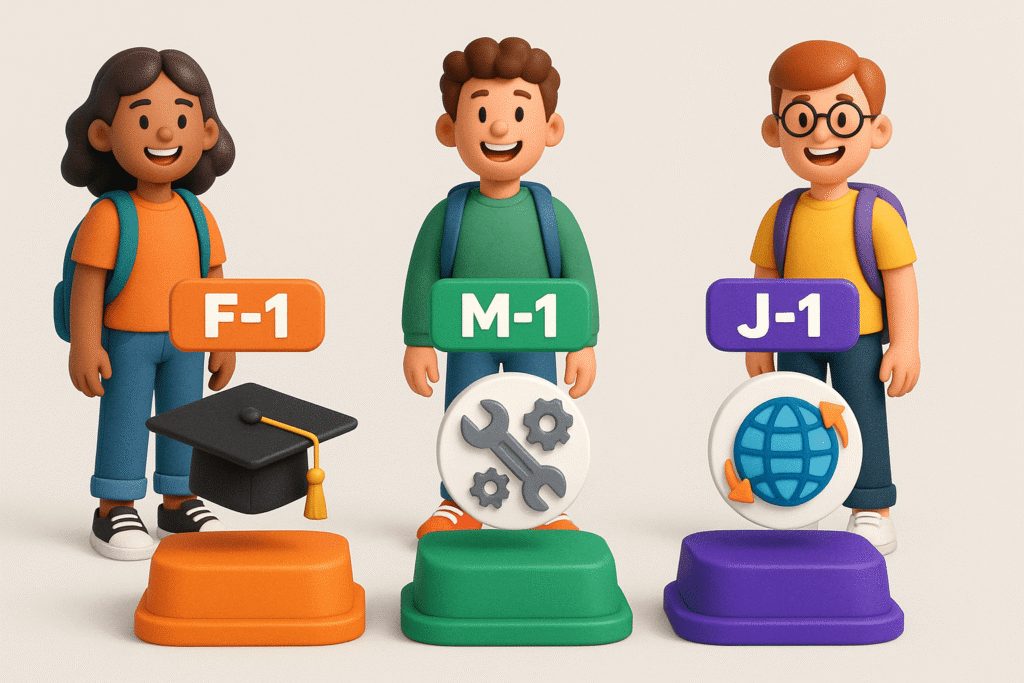
A US student visa is a non-immigrant visa issued to international students who wish to pursue academic or vocational studies in the United States. The most commonly used student visas are:
- F-1 Visa: For academic studies in colleges, universities, and language training programs.
- M-1 Visa: For vocational or non-academic training.
- J-1 Visa: For exchange visitors, including students under specific programs.
Each visa type has its own eligibility criteria and documentation requirements, so understanding the differences is essential to choosing the right path.
Eligibility Criteria
To apply for a US student visa, you must:
- Be accepted by a SEVP-approved school.
- Prove sufficient funds to cover tuition and living expenses.
- Demonstrate English language proficiency.
- Show intent to return to your home country after your studies.
Missing out on one of these can result in visa denial, so ensure you check every box.
Choosing the Right Visa Type
While F-1 is the most common, understanding when an M-1 or J-1 visa is more appropriate can save time and confusion. For example, if you’re attending a technical college for culinary arts or automotive training, M-1 might be your path.
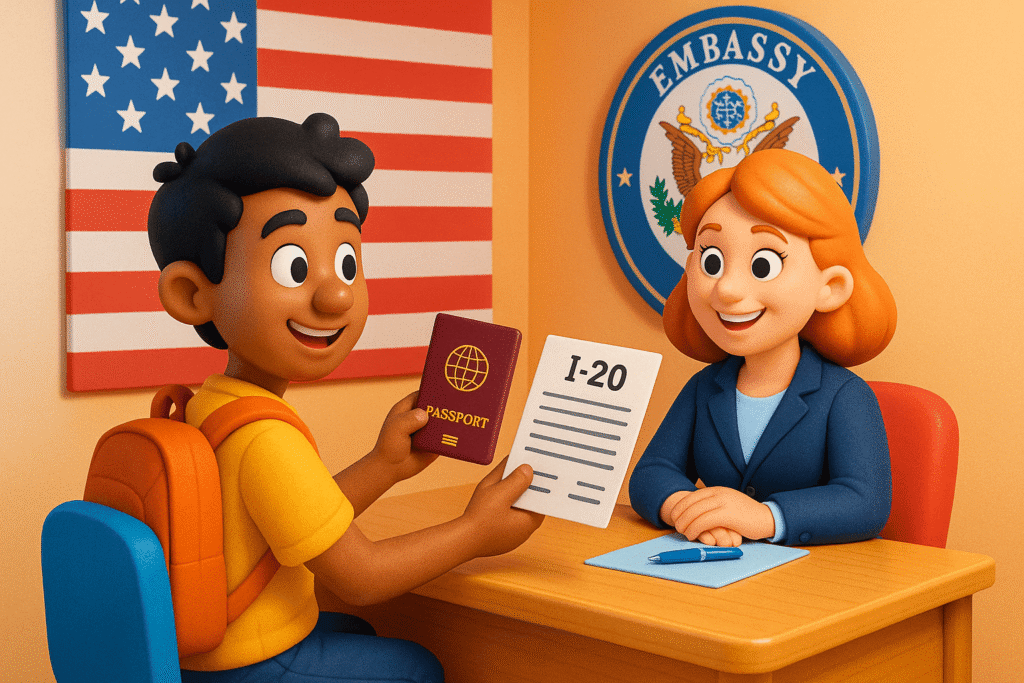
Acceptance from a SEVP-Approved Institution
Once accepted, your school will issue Form I-20 (for F-1/M-1) or DS-2019 (for J-1). These are crucial documents that you must present during your visa interview and at immigration in the US.
Overview of SEVIS and I-901 Fee
The Student and Exchange Visitor Information System (SEVIS) keeps track of international students. Before attending your interview, you must:
- Register in SEVIS.
- Pay the I-901 SEVIS Fee ($350 for F/M visas, $220 for J visas).
Always keep the receipt—it’s mandatory for the interview.
Completing the DS-160 Form
The DS-160 is an online non-immigrant visa application. Take your time with this—it can make or break your chances. Avoid typos, inconsistencies, or skipping questions.
- Save often while filling.
- Print the confirmation page with barcode—you’ll need it at the embassy.
Photograph Requirements
Your photo must:
- Be recent (within 6 months)
- Show a neutral expression
- Meet exact dimensions (2×2 inches)
It’s easy to have it rejected for something minor like a glare on glasses—get it done professionally. See US visa photo requirements.
Scheduling a Visa Interview
Once you’ve completed the DS-160 and paid the fees, schedule your visa interview at your nearest US Embassy or Consulate. Wait times vary, so book early. You’ll receive a confirmation letter with the appointment details.
Paying the Visa Application Fee
As of now, the F-1 visa application fee is $185, payable online or through designated banks depending on your country. Keep the receipt—again, it’s essential for your interview.
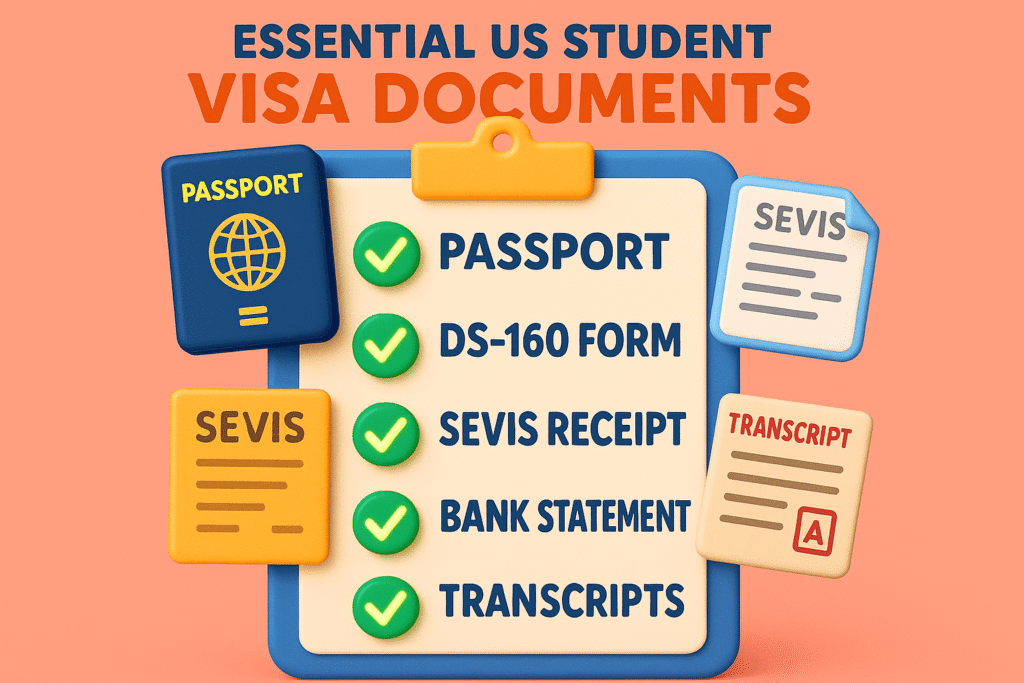
Documents You’ll Need for a US Student Visa Interview
Now, let’s dive into the core of this article—documents. Here’s what you must carry:
- Valid Passport (must be valid for at least 6 months after intended stay)
- DS-160 Confirmation Page with barcode
- Visa Fee Payment Receipt
- SEVIS I-901 Fee Payment Receipt
- Form I-20 or DS-2019 from your US school
- Visa Interview Appointment Letter
- Passport-sized Photographs (2 copies)
Financial Documents
To prove you can afford your education, bring:
- Original bank statements (last 3-6 months)
- Affidavit of Support (if someone is sponsoring you)
- Scholarship letters (if applicable)
- Loan approval letters (if financing education with an education loan)
These documents show your ability to handle expenses without working illegally in the US.
Academic Documents
These validate your academic background:
- Academic transcripts (high school and/or college)
- Diplomas or degree certificates
- Standardized test scores (TOEFL, IELTS, SAT, GRE, GMAT, etc.)
Bring originals and one set of photocopies—organized neatly.
Proof of Ties to Your Home Country
This can include:
- Property documents
- Family business proof
- Family ties (letters from parents or siblings)
- Job offer letters for post-study employment
These convince the officer that you’ll return home after studies.
Statement of Purpose (SOP)
Though not always required, carrying a printed SOP helps. It summarizes your goals, academic history, and career plan. It can support your answers during the interview.
Interview Preparation
Practice answering:
- Why do you want to study in the US?
- Why this university?
- How will you fund your education?
- What are your future plans?
Sound confident, stay honest, and don’t memorize your answers. See EducationUSA Advising Centers.
Post-Interview Process
If approved, your passport will be taken for visa stamping and returned via courier in a few days. If placed in administrative processing, don’t panic—it’s a common step.
If Your Visa is Approved
Celebrate—but also:
- Double-check your visa details (name, date, SEVIS number)
- Inform your university
- Book flights and start packing!
Certified Translation of Documents
When applying for a US student visa, all documents submitted to the embassy or consulate must be in English. If your documents are issued in another language, you’ll need to provide a certified translation.
Which Documents Often Need Translation?
- Academic transcripts and diplomas
- Birth certificates
- Financial records (bank statements, sponsorship letters)
- Marriage certificates (if applying with dependents)
- Police clearance certificates (if required)
What Does “Certified Translation” Mean?
A certified translation is a translation accompanied by a signed statement from the translator or translation agency confirming that the translation is accurate and complete to the best of their knowledge. US embassies and the Department of State require this to verify the authenticity of non-English documents.
Why Is It Important?
Submitting documents without proper translation can result in delays, rejection, or rescheduling of your interview. Certified translations ensure the visa officer can clearly assess your eligibility without language barriers.
Pro Tips
- Arrange translations well in advance so you don’t miss your interview.
- Use a professional translator familiar with US visa requirements like USCIS Official Translation.
- Keep both the original document and the certified translation in your file when attending your visa interview.
If Your Visa is Denied
Don’t give up. You can reapply after addressing the issue. Often, denials are due to missing documents, unclear answers, or financial doubts.
Travel Preparation
Book your flight wisely—reach a few days before orientation. Keep these documents in your hand luggage:
- Passport with visa
- I-20/DS-2019
- SEVIS and fee receipts
- Admission letter
Arrival in the US
At immigration, be prepared to answer questions again. Officials might ask about your course, university, or funding. Smile, stay calm, and answer honestly.
Check the detailed US Customs and Border Protection arrival process.
Maintaining Your Student Visa Status
You must:
- Remain a full-time student
- Report address changes
- Work only as allowed (on-campus or OPT/CPT)
- Renew I-20 if extended
Breaking any rule can lead to deportation.
Visa Extensions and Transfers
If your course extends beyond the visa’s expiry, apply for a visa extension or transfer to a new institution using a new I-20.
Converting Visa Status
Many students shift from F-1 to H-1B (work visa) after graduation. Speak to your school’s international office before making changes.
Student Visa Scams and Red Flags
Avoid agents asking for upfront “guaranteed visa” fees. Only trust information from:
- US Embassy websites
- SEVP-approved schools
- US Department of State
FAQs
How early should I apply for a US student visa?
You can apply up to 120 days before your course start date, but not earlier.
Can I work on a student visa in the US?
Yes, F-1 students can work up to 20 hours/week on-campus and apply for OPT/CPT later.
What happens if I overstay my visa?
Overstaying can lead to serious immigration consequences, including bans on reentry.
What’s the difference between F-1 and J-1 visas?
F-1 is for academic study, while J-1 includes cultural exchange and may have a two-year return requirement.
Can I bring dependents with me?
Yes, F-2 or J-2 visas are for spouses and children of student visa holders.
Do I need to show funds for the entire course?
You must show funds for the first year at minimum, but more is always better.
Conclusion
Applying for a US student visa can be complex, but it doesn’t have to be intimidating. With proper planning, correct documentation, and a clear understanding of the process, your American dream is just a few steps away. Be honest, be prepared, and most importantly, be confident.